
Being able to filter through 100s or 1,000s of records to find the right information is a ninja skill that will really help you save time and headaches when trying to navigate a lot of detailed information.
Filter Contacts #
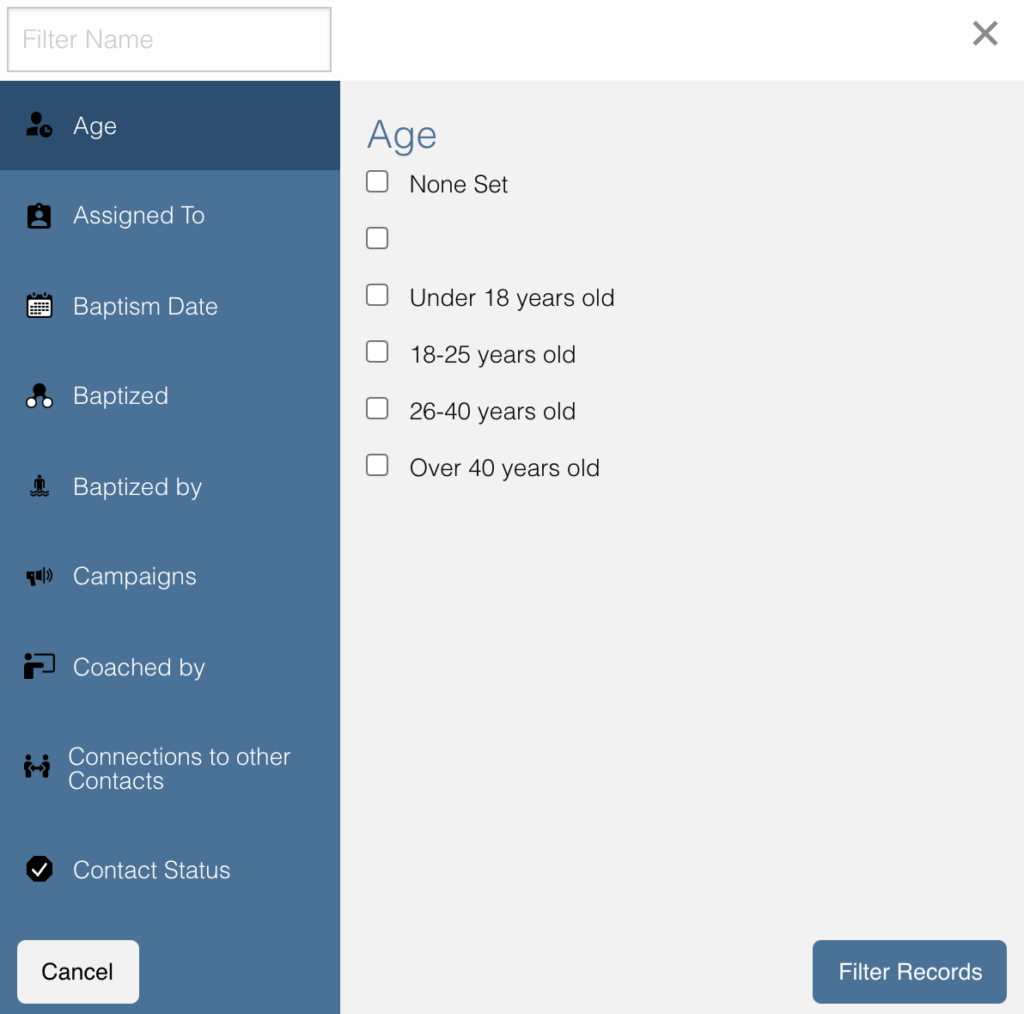
After a while, you may end up with a pretty long list of contacts all progressing at different points. You will want to be able to filter and search for who you need quickly. Click ![]() to begin. On the left hand side are the Filter Options. You can select multiple options for one filter (i.e. baptized contacts in XYZ location). Click
to begin. On the left hand side are the Filter Options. You can select multiple options for one filter (i.e. baptized contacts in XYZ location). Click Cancel to stop the filtering process. Click Filter Contacts to apply the filter.

Contacts Filter Options #
Contacts Filters Tile #
The default filter options are located on the left of the page under the heading Filters. By clicking these, your list of contacts will change.
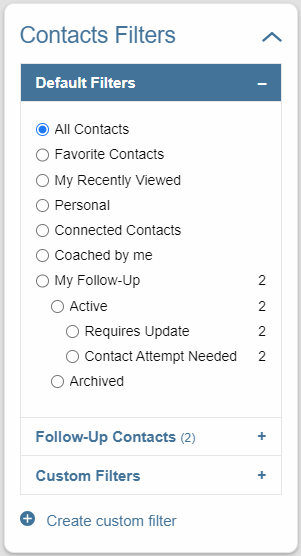
The Default Filters are:
- All contacts: Certain roles, such as Admin and Dispatcher, in Disciple.Tools allow you to view all contacts in your Disciple.Tools system. Other roles such as Multipliers will only see their contacts and contacts shared with them under
All contacts. - Favorite Contacts: Hi-lighting the star next to a contact makes it a favorite.
- My Recently Reviewed: The last few contacts previously clicked on.
- Personal: A list of all private contacts (as opposed to standard)
- Connected Contacts: ???
- Coached by me: A list of contacts you have been assigned to coach.
- My Follow-Up: These are contacts for which Disciple.Tools has assigned you a follow up activity.
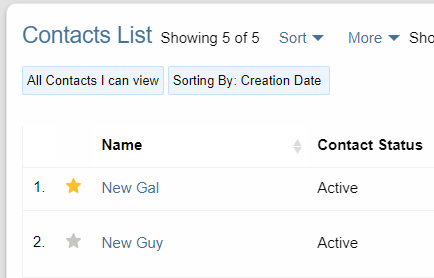
The Gold Star Indicates Favorites
Adding Custom Filters (Contacts) #
If the default filters do not fit your needs, you can create your own Custom Filter. As mentioned above, you can click
 or
or ![]() to begin. They will both take you to the
to begin. They will both take you to the New Filter modal. After clicking Filter Contacts, that Custom Filter option will appear with the word Save next to it.

Save #
To save a filter, click on the Save button next to the filter name. This will bring up a popup asking for you to name it. Type in the name of your filter and click Save Filter and refresh the page.
Edit #
To edit a filter, click on the pencil icon next to a saved filter. This will bring up the filter options tab. The process for editing the filter options tab is the same as adding new filters.
Delete #
To delete a filter, click on the trashcan icon next to a saved filter. It will ask for confirmation, click Delete Filter to confirm.