This page allows you to create a new tile or modify existing tiles.
How to access:
- Access the admin backend by clicking on the
 on the top right and then click
 Admin. - In the left hand column, select
Settings (DT). - Click the tab titled
Custom Tiles.
 on the top right and then click
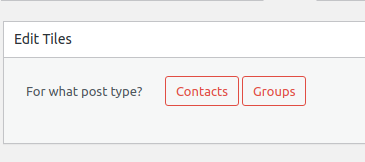
 Choose the post type
Choose which section you want do edit. Selecting Contacts will show you the tiles and fields for the Contacts pages.
Create or update tiles for Contacts
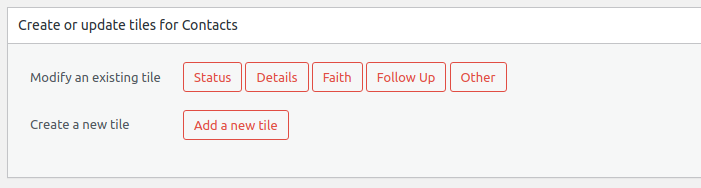
Modify an existing tile
Choose an tile from the list. If you select the “Status” tile you will see:
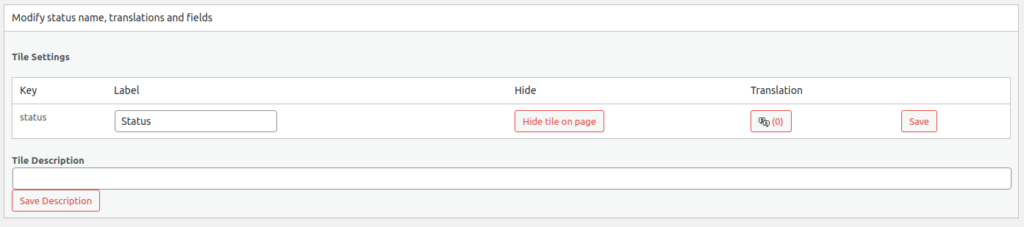
Tile Settings
Here you can:
- Change the name of the tile under the label column. Remember to click save.
- Click
Hide tile on pageif you do not want the tile to appear in the frontend. - Add a custom translation for the tile name for any language. Remember to click save.
- Add a tile description that will show up when the user clicks the tile help icon.

Create a new tile
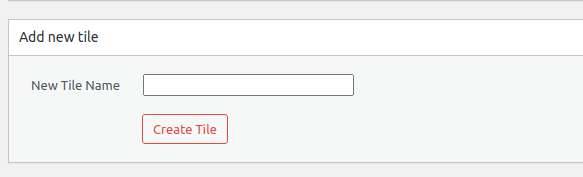
- Click the
Add new tilebutton. - Give the tile a name in the empty field next to
New Tile Name - Click
Create tile - You will then see the section to modify the tile details
To add new fields to the tile head over to the fields tab.
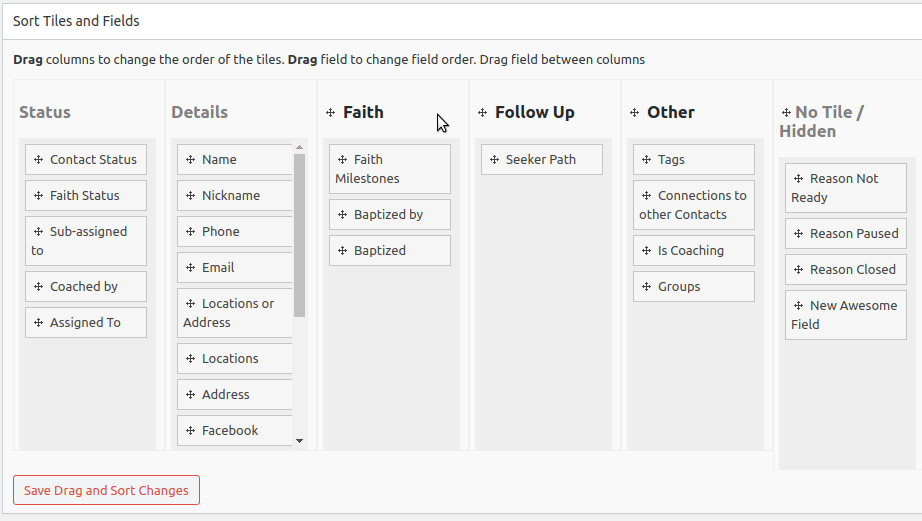
Sort Tiles and Fields for Contacts
Here you change the order in which tiles appear on the record. On a contact, do you want the Faith tile or the Follow up tile to show up first?
You can also change the order that fields show up in each tile.
Don’t forget to hit the Sort Tiles and Fields for Contacts button
Here is an example: