Setting up the hosting environment for Disciple.Tools
The first step is to choose a hosting platform for your Disciple.Tools instance
See our recommendations: https://disciple.tools/hosting/
Here is a basic walk-through on using WPEngine as your hosting platform: https://developers.disciple.tools/hosting/wpengine-hosting
In setting up WordPress you will have the choice between installing WordPress as a single site or as a multisite.
If you have multiple teams or want room to grow you’ll want to choose the multisite option. More info on single site vs multisite: https://developers.disciple.tools/hosting/single-or-multisite
Checklist to consider during setup:
- What domain (url) is your site accessed on
- Make sure your site is using https
- Some groups choose to host their Disciple.Tools instance behind a VPN
- Implement offsite backups. More
- Enable system CRON instead of Worpdress cron. More
- Use a 3rd party SMTP service to send email (sign up emails, notification emails, etc).
- Disable caching.
Installing the Disciple.Tools theme
Once you have the host environment set up you are now ready to install the Disciple.Tools theme.
Download the theme from https://disciple.tools/download/,
Step 1
- Download the theme disciple-tools-theme.zip file from https://disciple.tools/download/
Step 2
- Open up your WordPress site.
- Login to your Admin Dashboard.
https://{your website}/wp-admin/
Note: You have to be an administrator with the permissions to install plugins.
Step 3
- In the Admin area, go to
Appearance > Themesin the left navigation. This is where themes are installed. - Select the
Add Newbutton at the top of the screen. - Then select the
"Upload Theme” button at the top of the screen. - Use the
choose filebutton to find the disciple-tools-theme.zip file you saved in step 1, and upload that file and wait for WordPress to install it.
Step 4
- Once uploaded, you will see the new Disciple.Tools Theme installed with other themes. Next
Activatethe theme.
Installing Disciple.Tools plugins
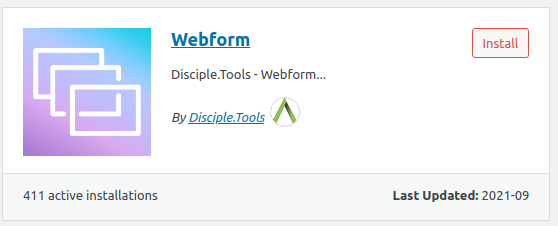
In the Admin Dashboard (https://{your website}/wp-admin/), on the right click on Extensions (D.T).
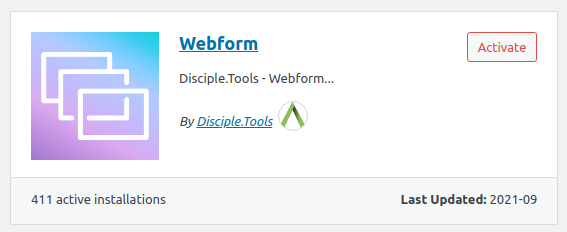
Here your will see a list of available plugins to install. Find the one you want and click the “Install” button and then “Active” when it is installed.
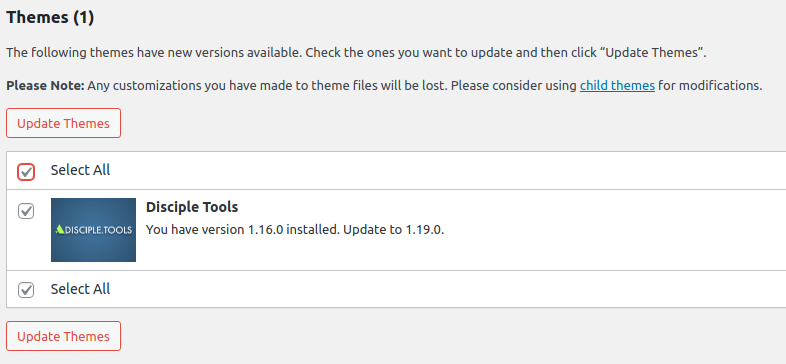
Updating the Disciple.Tools theme and plugins
To install updates for the Disciple.Tools theme or any plugin look for the updates available arrows at the top of your WP Admin Dashboard
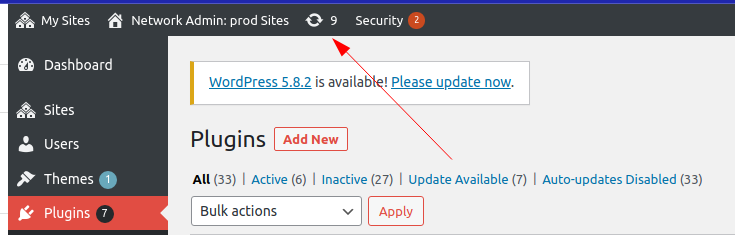
Select the plugins or themes you want to update and click the Update button
Check for Latest Version
You can check what the latest version of Disciple.Tools is on this page: https://disciple.tools/download/,
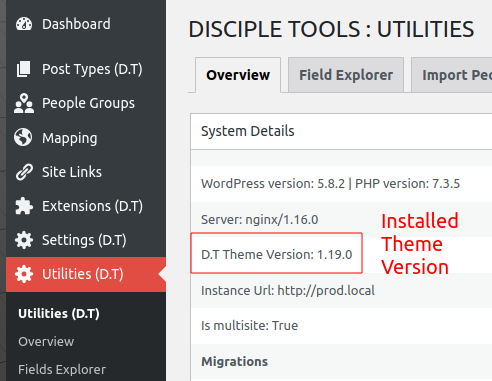
Here a way to check what version of Disciple.Tools you have installed on your instance:
Head of to the Utilities (D.T) tab on the WP Admin Dashboard and find the “D.T Theme Version” row in the table.